Repairs · Aurora
Garage Door Bottom Seal Replacement
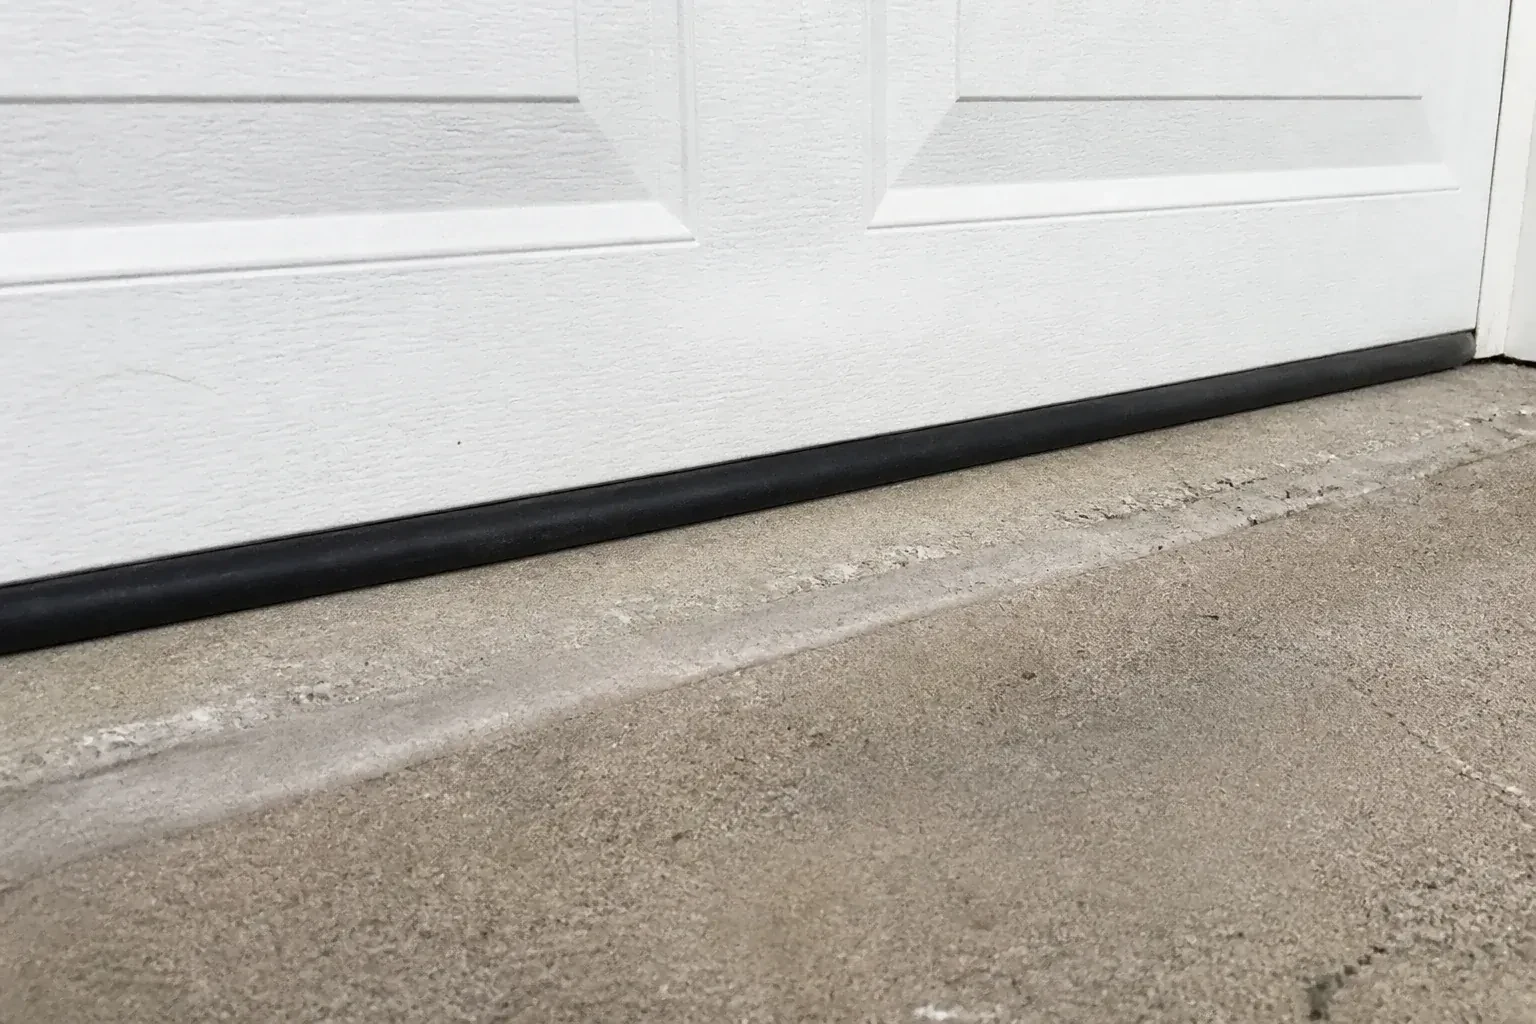
The gap under the door is a finger wide at one end and nothing at the other.
In plain words
What you have afterwards is a door that closes onto a single soft line of contact from jamb to jamb. Daylight under the door is much reduced, the draft across the floor eases, wind-blown leaves and snow are kept out more effectively, and the tighter gap makes the route in harder for mice. The opener has been reset so the door lands gently on the new strip instead of pressing it flat. You also leave knowing the seal's profile and size, which makes the next replacement a matter of one phone call, and a couple of simple habits for winter that keep the new seal from freezing to the floor.
How the visit goesAfter a spring rain there is a puddle inside the door that reaches the tires. The driveway slopes toward the garage, the slab has a low corner, and the flattened old seal is not making up the difference.
Garage Door Bottom Seal Replacement
How the visit goes
Reading the gap with the door closed
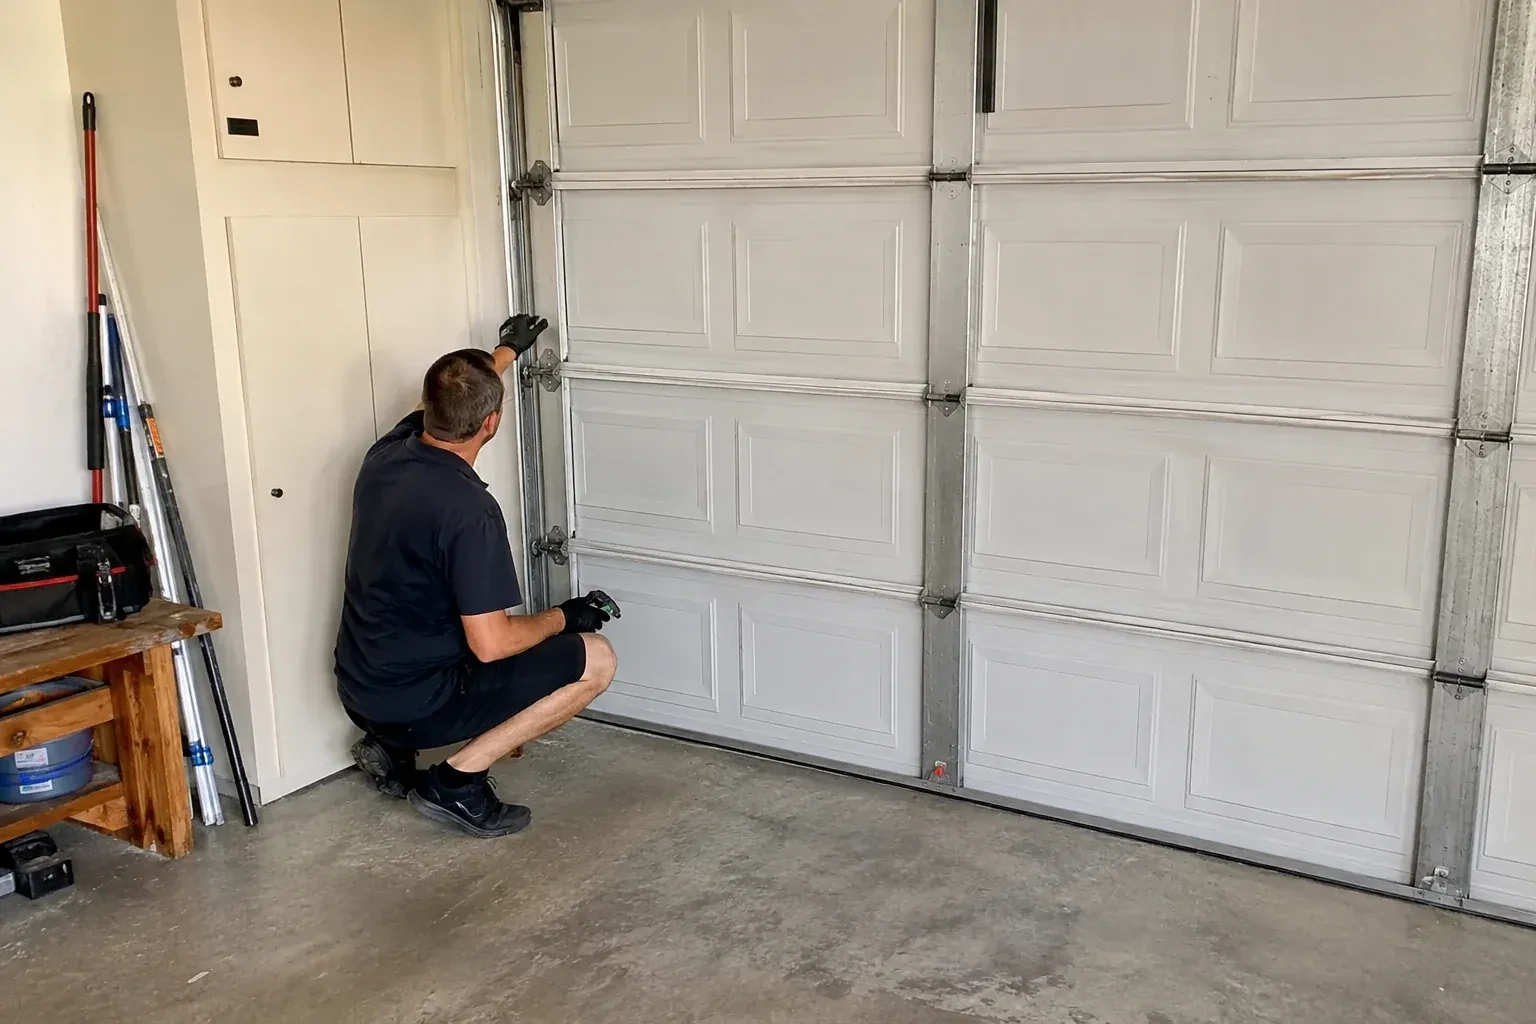
The assessment starts with the lights off and the door down. From inside, the technician looks along the floor line for daylight and notes where it shows: a thin line the full width, a wedge at one corner, or a patch in the middle. A straightedge laid across the threshold shows whether the slab is flat or dished, and a hand run along the seal feels where it touches and where it hovers. Photographs of the worst spots are taken so you can see what is being fixed. This map of the gap tells the technician how tall the new seal needs to be and whether anything other than the seal is contributing.
Feeding the seal into the retainer
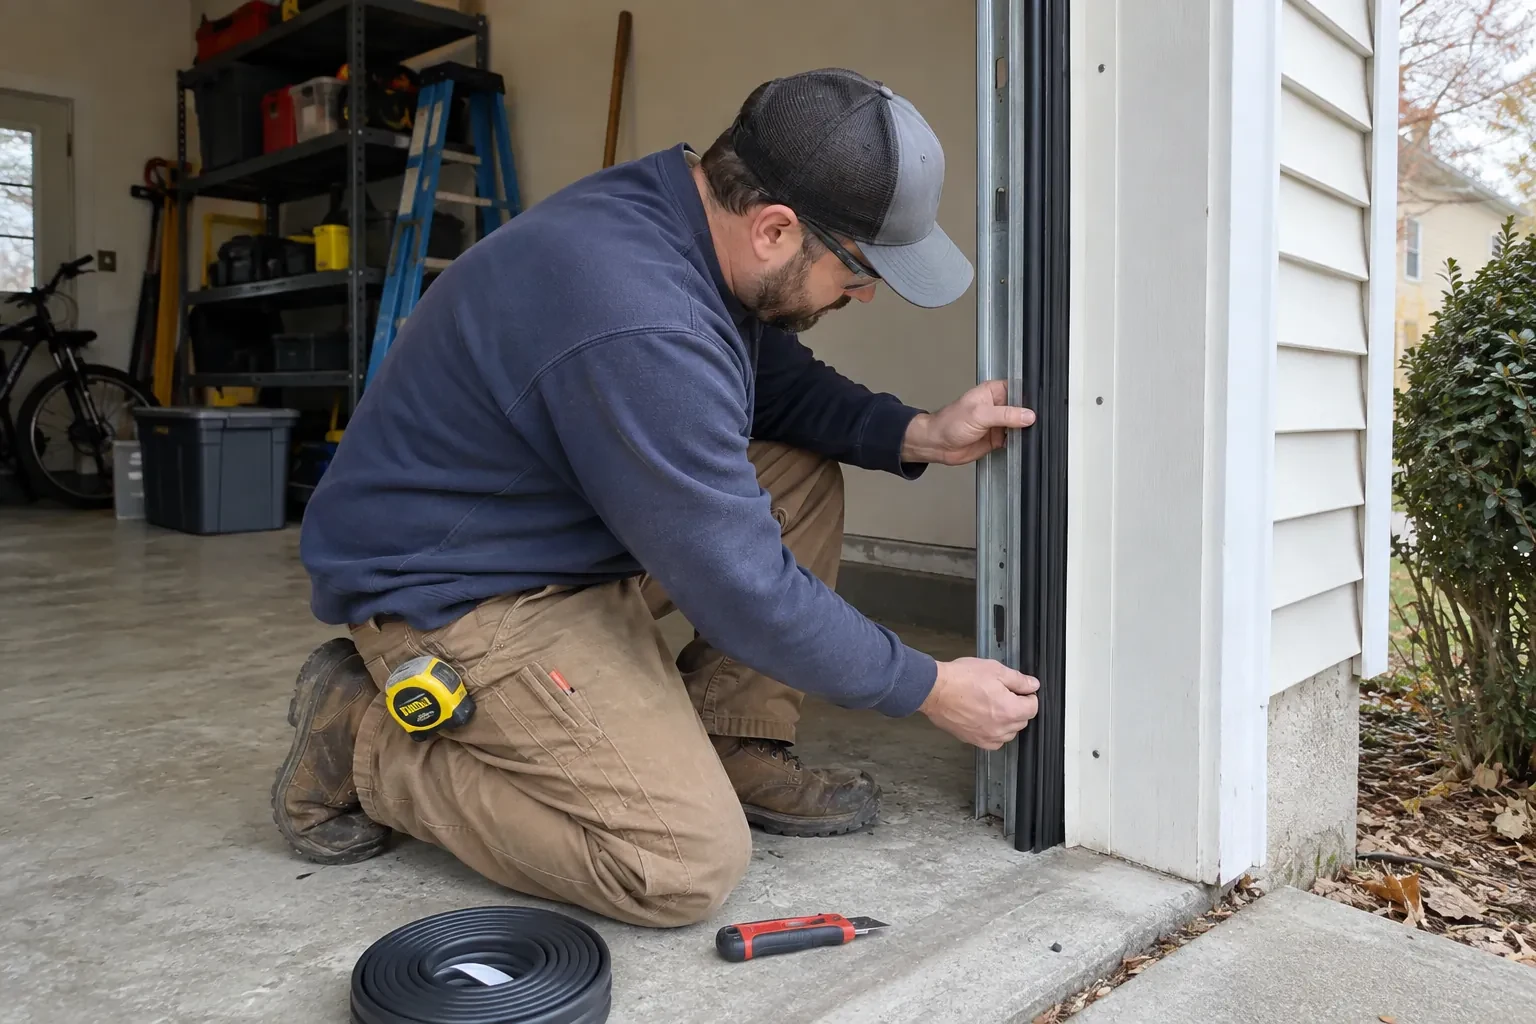
Both edges of the new seal are started into their channels together at one end of the door. A spray of soapy water or silicone on the edges lets the strip glide, and the technician works it across in stages, pulling gently from the front end and feeding from the other so the seal is never stretched, since a stretched seal shrinks back and leaves a gap later. Once it is across, the bulb is checked to hang evenly with no twists. The ends are trimmed flush with the door and folded up into the channel or capped, so water running along the seal drains out rather than into the section.
The opener stays in step with the seal
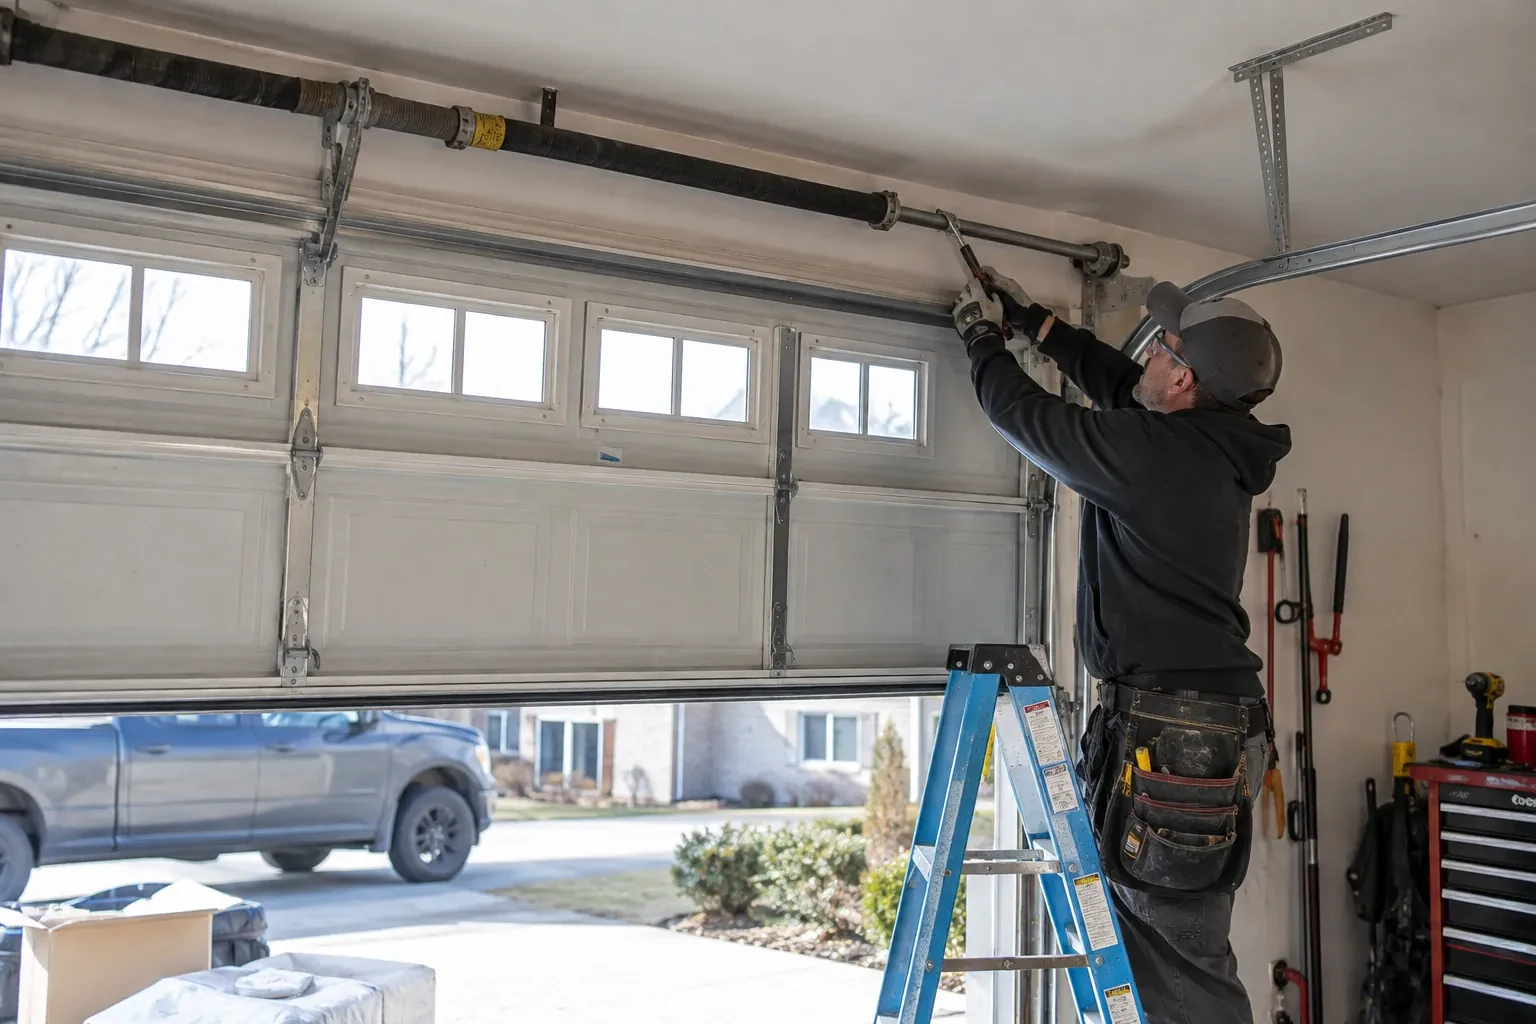
The opener was reset to the new seal height, and it will hold that setting until something changes. If the door begins to reverse just before the floor, stops short and leaves a gap, or lands with a thump, the down limit or force has drifted or the seal has taken a set, and a small adjustment puts it right. The reversing test with a 38 mm (1.5 in) solid object, or a 2x4 laid flat under the door, is worth repeating monthly and after any adjustment, as the industry checklist for homeowners describes. A door that closes gently and reverses on an obstruction is one whose seal and opener are working together.
Garage Door Bottom Seal Replacement
In the van
Bulb or U-style bottom seal
Nail-on vinyl strip for wood doors
Threshold seal and adhesive
T-style bottom seal
Track clamps
Garage Door Bottom Seal Replacement
What affects the quote
Wood door nail-on strip
A wood door with a nailed strip takes a different product and more fastening time than a channel seal, and adding a retainer to a wood rail is a further option to consider.
Number of doors
Two single doors are two seals, two inspections and two opener resets. The travel is shared, so doing both in one visit costs less than two separate calls.
Access and clearance
Storage, a vehicle that must stay inside, or shelving against the bottom of the door slows the work. A clear metre inside the door makes the visit shorter.
What to have ready
- Is the old seal hard and cracked, torn, hanging loose, or missing?
- Does the door stop short of the floor or reverse before it closes?
- Is the door a single or a double, and roughly how wide?
Garage Door Bottom Seal Replacement: questions
QuestionsWhat are bottom seals made of, and which suits cold weather?
Most are vinyl, which resists sun and moisture well but stiffens in deep cold. Rubber compounds stay flexible at low temperatures and follow an uneven floor closely, though they can harden after many years of sun. Silicone stays supple in heat and cold and resists cracking, at a higher cost. For a door that faces the weather, a rubber or silicone profile is usually the sounder long-term choice.
What happens during the visit?
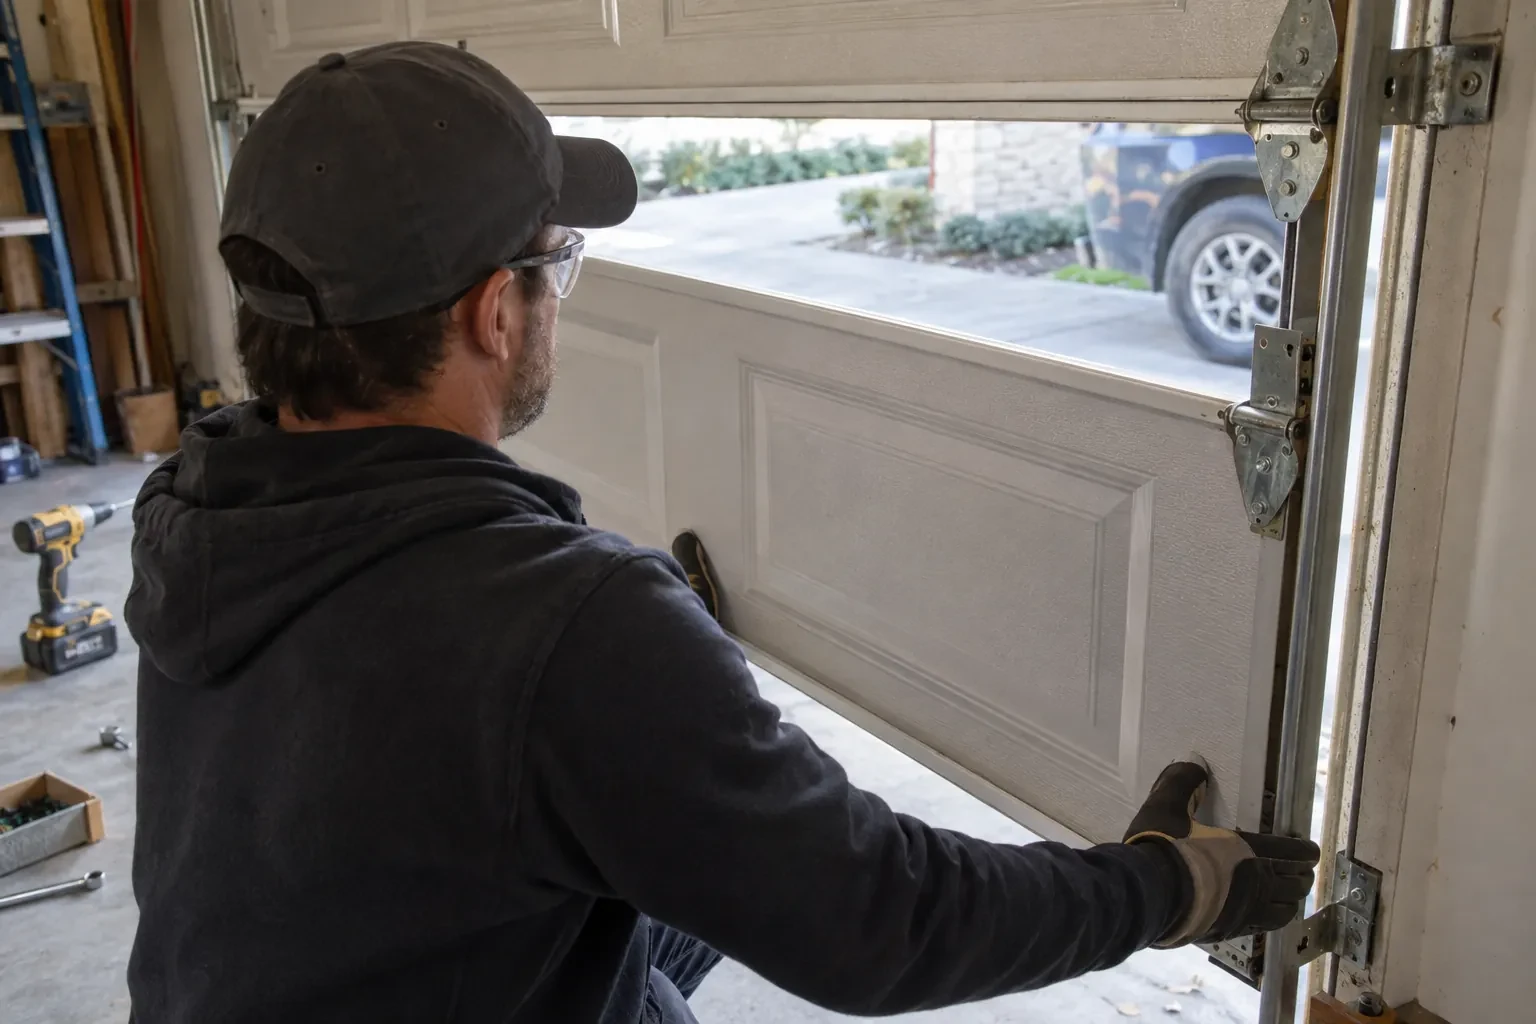
The technician maps the gap with the door closed, checks the door is level and the bottom section straight, and identifies the retainer and profile. The opener is disconnected and the door clamped at working height. The old seal comes out, the channels are cleaned, a new seal is cut and fed in, and any retainer work is done. The door is then closed under power, the opener reset, and the reversing and photo-eye tests run.
Is the seal on an insulated steel door different?
Sometimes. Many insulated doors have the seal channel moulded into a plastic cap that wraps the bottom rail, which takes a specific profile rather than a generic one. If that cap is cracked or the channel has opened, a screw-on aluminum retainer can be fitted over the rail so a standard T-style or bulb seal can be used from then on. Identifying the retainer at the first look settles which route applies.
Related services
- Garage Door Tune-UpEvery morning the door announces itself to the whole street: a long metallic squeal as it climbs, a rattle at the top, and a groan on the way back down.
- Off-Track Garage Door ResetYour car is inside and the door is stuck crooked across the opening.
- Garage Door Panel ReplacementThe top section has developed a bend where the opener arm pulls on it.