Openers · Aurora
Smart Garage Controller Setup
There is a wireless symbol printed on the opener above the car, and the manual mentions an app, but the head unit has never been connected to anything.
In plain words
A door you can close from across town is a door you cannot see, and the operator standard treats that seriously. Any command sent from out of sight must be preceded by a warning: the controller sounds a beeper and flashes a light for several seconds before the door moves, and the door must have working photo eyes at the floor. The setup visit confirms both. The technician checks the sensors, tests the remote close so you hear it yourself, and runs the door onto a 2x4 to prove it reverses on contact. Convenience is added on top of those two safety behaviours, not in place of them.
How the visit goesThe house came with a controller already screwed to the garage ceiling and a sensor on the door, but the app insists the device belongs to another account. The seller has moved provinces, the emails go unanswered, and every evening the door still reports to a stranger's phone.
Smart Garage Controller Setup
How the visit goes
Where the sensor will sit
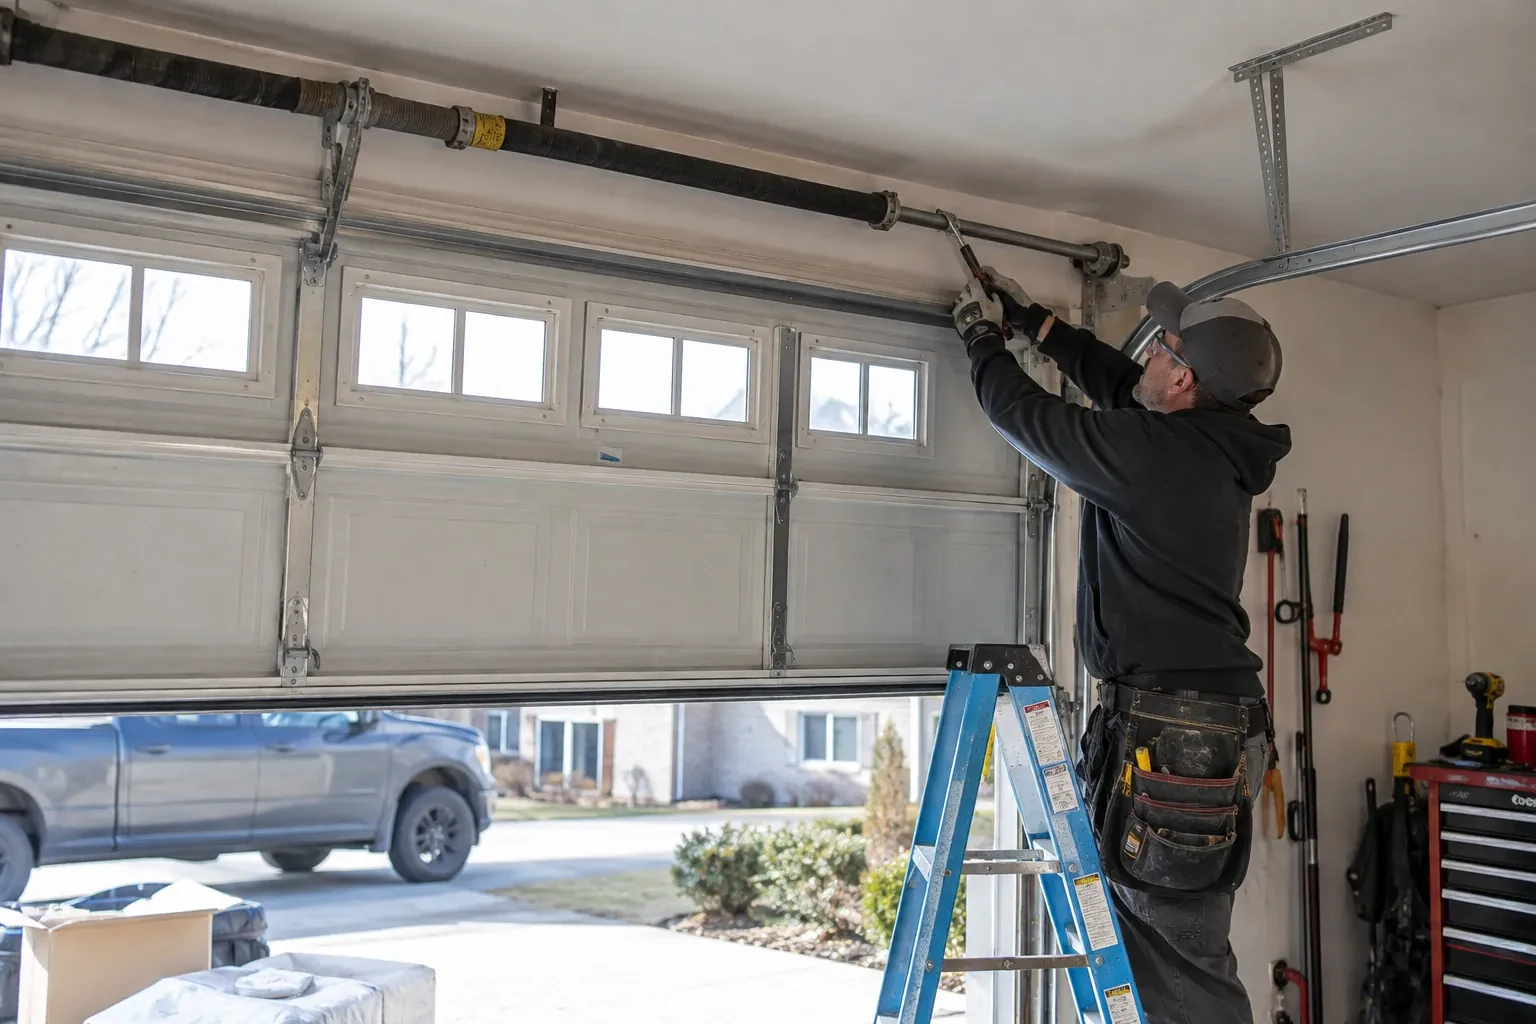
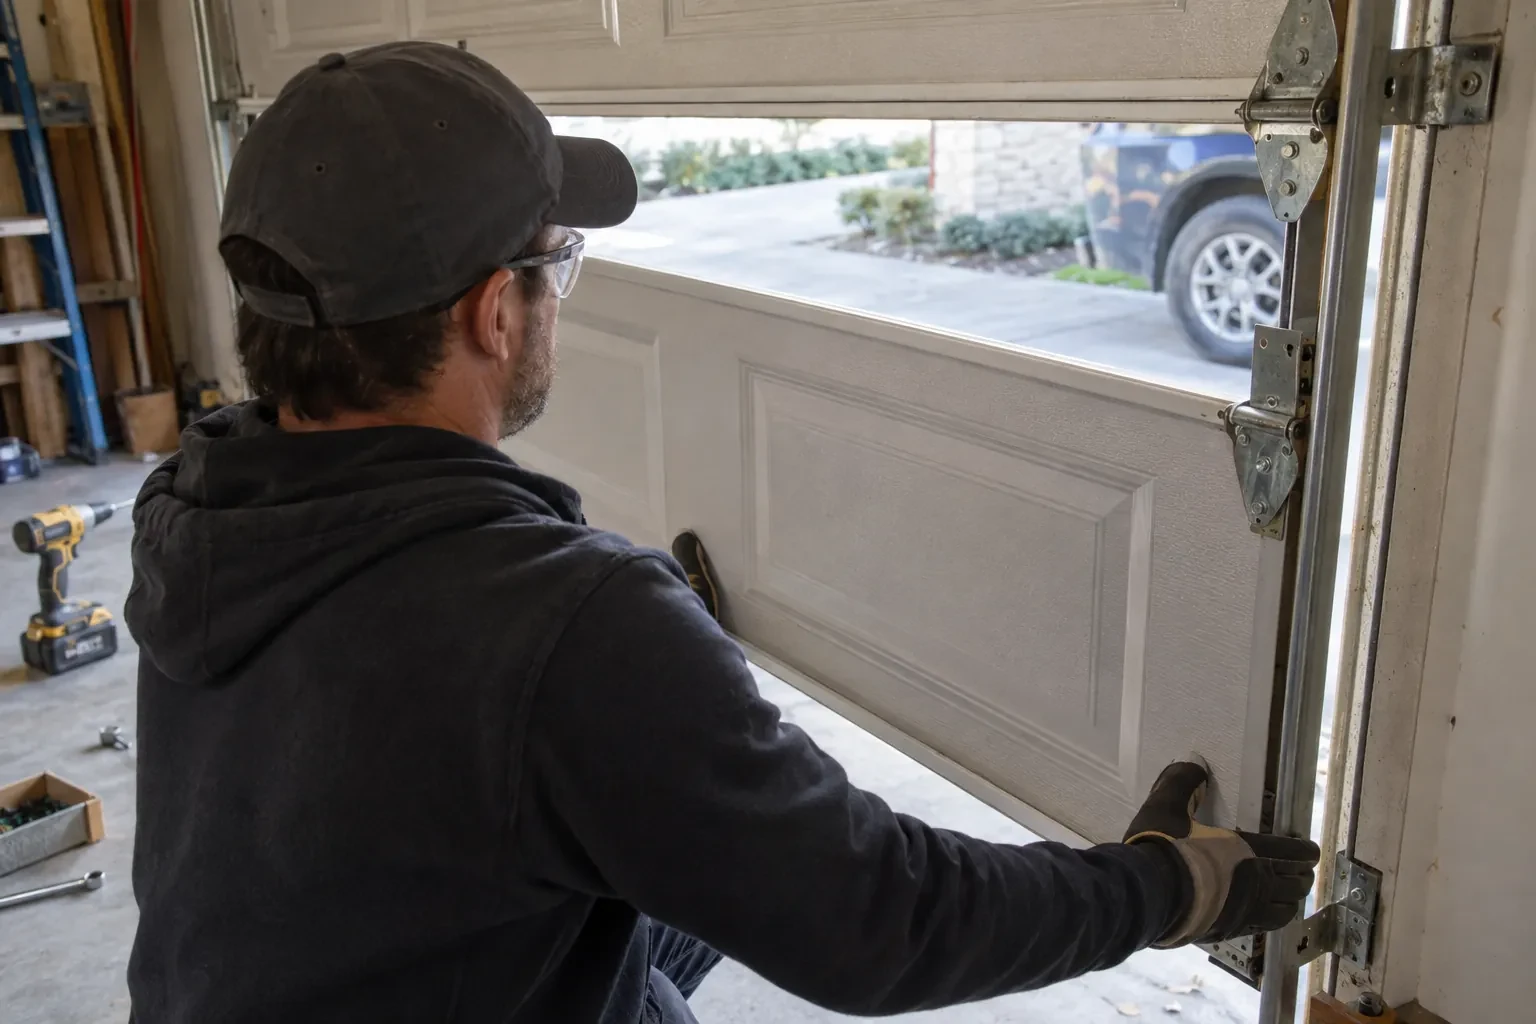
The door-position sensor works by tilt, so it belongs on the inside face of the top door section, near a hinge line and clear of the opener arm, the lock bar and any handle. The technician checks the panel surface, since insulated steel and raised-panel wood doors have different flat spots, and checks the distance and line of sight to the hub. Homes with two doors need a sensor on each. On a door with a window section the sensor is kept away from the glazing frame. The battery type is noted, and the mounting follows the sensor maker's specified fasteners for this climate: screws, an adhesive strip, or tape as a temporary step before screws.
Mounting and teaching the door sensor
The sensor is fixed to the inside of the top door section with two screws, oriented the way its maker specifies so the tilt reading is unambiguous. Its battery goes in, and the hub is put into pairing mode to find it. The technician then follows the controller's own pairing procedure: some units come already programmed to their sensor and are simply verified through full cycles, others are taught the closed and open positions by cycling the door. Further cycles follow while the app is watched for the status to change within seconds of each end. A sensor that reports late or wrongly is repositioned rather than left to be second-guessed later.
A status you can trust
The most important thing you leave with is confidence that the little icon on your phone is telling the truth. You have watched the door open and close while the app changed state each time, you know roughly how long it takes to update, a few seconds after the door reaches the end of its travel, and you know what a stale reading looks like. If the status ever disagrees with what you can see, the sensor battery and the hub's connection are the two places to look. Until then, checking the door from the highway means glancing at a screen rather than turning the car around.
Smart Garage Controller Setup
In the van
Receptacle splitter with approval mark
Wi-Fi access point or extender
Retrofit smart hub
Lithium coin cell or cylindrical cells
A 2x4 offcut for the reversal test
Smart Garage Controller Setup
What affects the quote
Distance to your address
Every visit includes the drive. A home a few streets from the shop and a property well outside town are different trips, and that shows in the quote.
Number of doors
A second door means a second sensor, a second round of pairing and testing and sometimes a second hub, and each door is quoted as its own line.
Door and opener condition
A heavy, binding or badly balanced door is corrected before a controller is added. That door-side work, from rollers to spring adjustment, is quoted on its own.
What to have ready
- What brand and model is your opener, and roughly how old is it?
- What colour is the learn button under the opener's light cover?
- Is there an existing controller on the ceiling from a previous owner?
Smart Garage Controller Setup: questions
QuestionsCan one controller handle two garage doors?
Many hubs support two doors from one unit, each with its own door sensor, and each door appears separately in the app with its own name, status and history. Openers with built-in radios register individually, so a two-door garage with two connected openers simply shows two doors under one account. The technician confirms which arrangement your hardware supports before the visit.
Will a smart controller work with my older opener?
Often, yes. Retrofit hubs were designed for exactly this: an opener from the previous decade or two that works perfectly well but has no radio of its own. The deciding factors are the model, the year, the type of learn button and whether photo eyes are fitted. The technician checks your exact opener against the controller maker's current supported list before anything is bought or mounted, so the answer is known rather than hoped for.
My garage is detached. Will the signal reach?
Sometimes on its own, often with help. A driveway, two exterior walls and a metal-clad garage can knock a signal down to the point where the hub connects but drops offline regularly. The technician measures at the mounting spot and, where the reading is marginal, adds a small access point or extender positioned to bridge the gap, so the hub joins a strong signal from day one rather than a weak one you have to keep nursing.
Related services
- Chain-Drive Opener RepairHalfway up, the door lurches.
- Belt-Drive Opener RepairPress the remote and the motor runs its full cycle, lights on, the usual whir, but the door does not move a centimetre.
- Garage Door Opener ReplacementThe remotes only work from the end of the driveway now, and one of them disappeared with a set of keys last month.